

Laboring on Labor Day
What’s the best place to be on a Friday night in Nashville? Home Depot, of course!

Okay, maybe that was a bit of a hyperbole. But that’s where Austin and I found ourselves the Friday of Labor Day after deciding to build Austin a bed frame for his room.
But let’s step back a little.
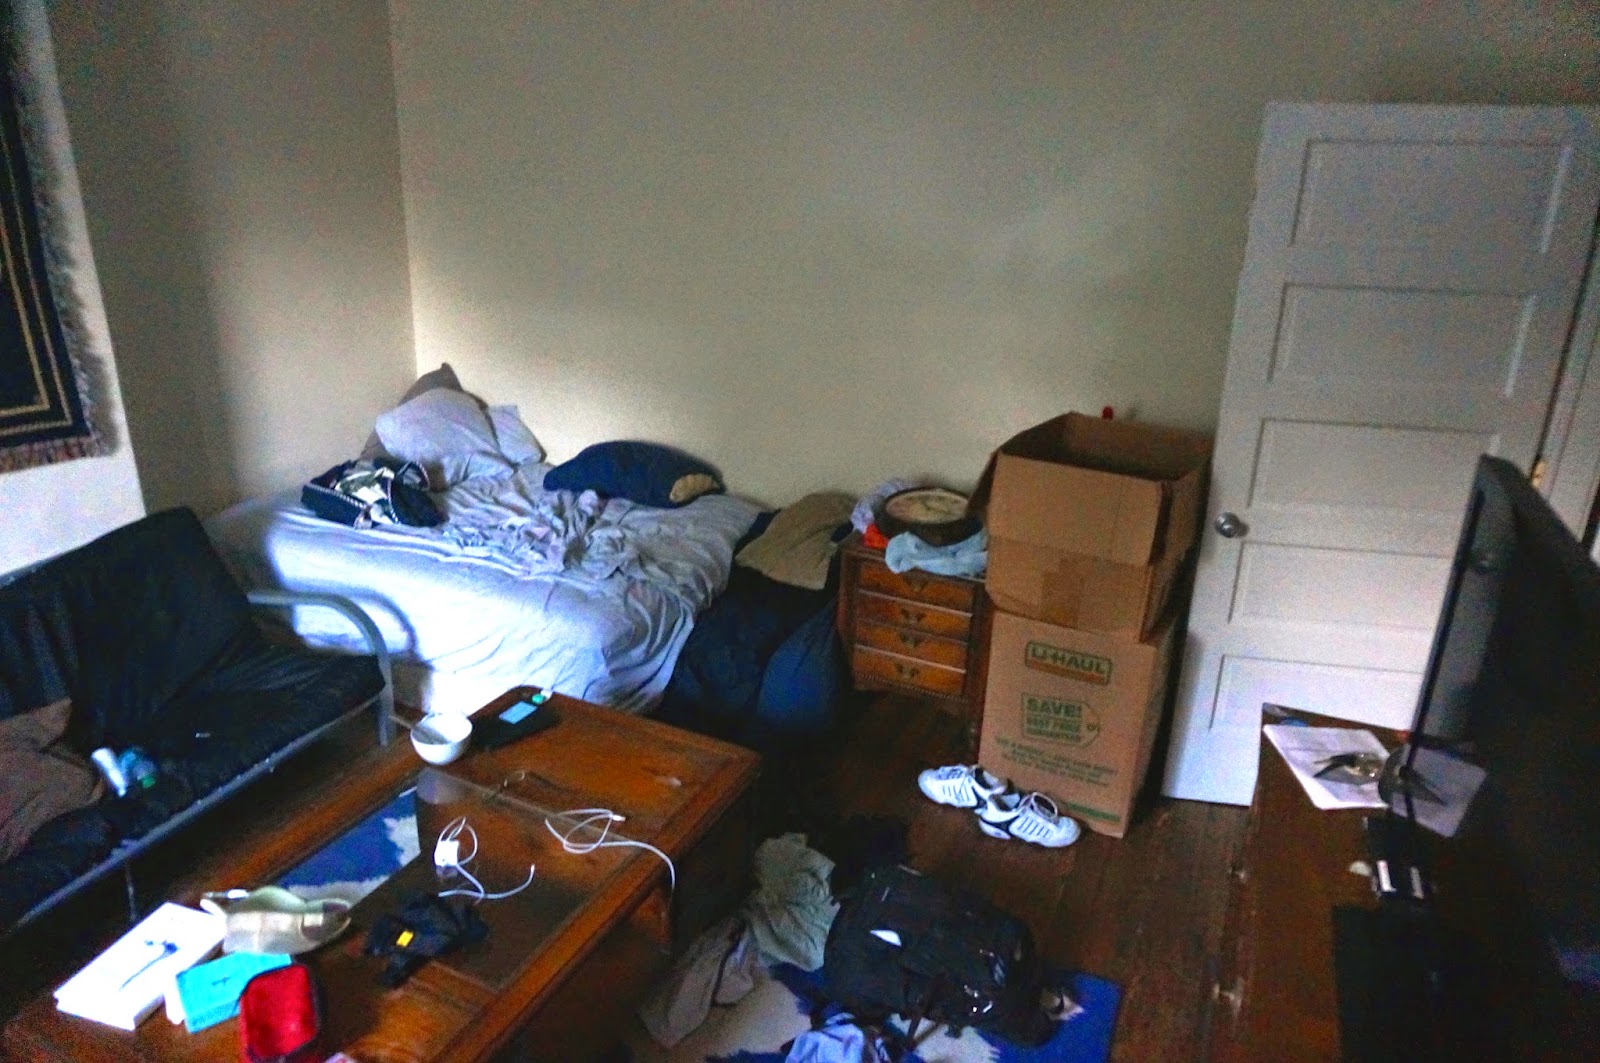
This is what Austin’s room looked like for the first 3 weeks of school. And the mattress directly on the floor? Yea that’s how Austin has lived for half of his college career.
So I won’t say that the bed frame idea was entirely my idea but….it was entirely my idea.
At first we were just looking around Craiglist for a cheap one, but when I stumbled across this bed frame design on the DIY blog Shanty-to-Chic, Austin gave the stamp of approval and we decided to dive right in and build it. The owner of the blog writes detailed building plans and tutorials so we thought that it would be a fun and (relatively) easy project to take on.

So that’s how we ended up here on a Friday night:

As first timers to the lumber section of Home Depot, our list of required materials was more than intimidating. Nonetheless, we jumped right in and spent a good hour running up and down the aisles looking for 2 x 8 x 8s, figuring out what to do when they didn’t have 1 x 3 x 10s, and googling the difference between pressure-treated and non pressurized wood (don’t worry Mom, we went with non pressurized - yay no chemicals!)


The employees at Home Depot were some of the nicest people I have ever met. I feel confident making that statement because I’m pretty sure that we asked every person in that place for help at one point or another.
Because we didn’t have the equipment to make large cuts at home, we took full advantage of Home Depot’s cutting station. This meant that we (okay I) also spent a good time on the floor of Home Depot measuring and drawing lines where each piece should be cut.

And as more proof of the awesomeness of the Nashville Home Depot employees, Randy cut every single piece for us without the typical 75 cent per piece charge. Thanks Randy! That saved us a good $50.
In total we spent 2 and a half hours in Home Depot, and really only left because by that point it was 10:30 PM - aka closing time. Don’t worry, we would be back within 24 hours.
Here’s our haul of the night.

And here’s Frank being a tank.

On Saturday we began building the headboard. At Home Depot we had picked out 4 different kinds of Minwax wood stains: Cherry, Early American, Dark Walnut, and Red Chestnut.

The first thing to do for the headboard was decide the pattern of colors we wanted and start to stain the wood pieces. We braved the humidity and mosquitos and set up a work station on Austin’s front porch.

To stain each piece of wood we first sanded them down

Then dusted them off with a cloth

And painted the stain on with another cloth.

We decided to use cloth instead of a paintbrush to avoid any lines on the wood and make it look as natural as possible.
To make sure the colors were coming out the way we wanted them to, we laid each piece out on the headboard as we went.

And here it is almost done….

….except for the three pieces we forgot to get at Home Depot (see empty top row). So back we went for our 2nd out of 3 trips to the store that weekend.
Once all the pieces were stained and in place, it was time to glue each piece down using wood glue.


Human clamp optional.
Once the glue had dried enough to flip the board over, we drilled 1 inch screws into the back to ensure that the boards stayed in place long term.

After that it was time to attach the legs. First we stained them the darkest wood stain we had (Dark Walnut) using the same process as the smaller boards.
Because we didn’t have a pocket screw jig, we had to improvise and just screw the backboard to the legs by using 2 inch screws that came in at an angle.

Luckily it worked out and the legs came out sturdy and stable. The only thing left to do was attach the trim pieces and…..

Voila! We had a headboard!

And it fits perfectly! Huzzah for math and measurements!
I still can’t believe that we were able to finish the headboard all in one day. As the first large DIY project I have ever done it was remarkably easy.
Alas, our good luck did not last long and the bed frame was not as fluid of a process as the headboard.
Look out for that post and the full bed reveal later this week!
Share story


I would like to thank you for the efforts you have made in writing this article. I am hoping the same best work from you in the future as well. In fact your creative writing abilities has inspired me to start my own BlogEngine blog now. Really the blogging is spreading its wings rapidly. Your write up is a fine example of it.
ReplyDeletelabor day weekend deals